How to Change Aquarium Water ?
So your fish tank is looking a little cloudy. Or maybe your fish are acting strange — hanging near the surface, moving slowly, or just looking dull. Nine times out of ten, the answer is simple: your tank needs a water change.
Changing aquarium water is one of the most important things you can do as a fish keeper. It keeps your fish healthy, your tank clean, and your whole setup running the way it should. And the good news? It is not hard at all. Once you do it a couple of times, it becomes second nature.
This guide walks you through everything — why water changes matter, how often to do them, what tools you need, and the exact steps to follow. Let us get into it.
Why Changing Aquarium Water Matters So Much
Let us start with the basics. Your fish live, eat, breathe, and waste in the same water. Every single day, that water gets a little worse. Fish waste breaks down into ammonia. Ammonia turns into nitrites. Nitrites turn into nitrates. And nitrates just keep building up.
Even a well-filtered tank cannot remove nitrates on its own. Only a water change can do that.
High nitrate levels stress your fish. Stressed fish get sick easier. Sick fish die faster. It is a bad chain of events, and it all starts with not changing the water often enough.
A regular partial water change also does several other good things:
- It removes uneaten food and debris from the water column.
- It replenishes minerals and trace elements your fish need.
- It helps keep the water pH stable.
- It reduces the buildup of harmful toxins over time.
- It keeps algae growth under control.
Think of it like this. If you never cleaned your house, it would slowly become unlivable. Your fish tank works the same way. Regular water changes are just basic aquarium maintenance — and your fish will show you the difference.
How Often Should You Change Aquarium Water?
The short answer: once a week for most tanks.
But the longer answer depends on a few things — the size of your tank, how many fish you have, what kind of filter you use, and how much you feed.
Small tanks (under 20 gallons): Change 25–30% of the water every week. Small tanks get dirty faster because there is less water to dilute waste.
Medium tanks (20–55 gallons): Change 20–25% of the water every week or every two weeks.
Large tanks (over 55 gallons): Change 15–20% of the water every two weeks. Big tanks are more stable, but they still need regular water changes.
Heavily stocked tanks: If you have a lot of fish crammed in, change water more often. More fish means more waste, which means faster buildup of toxins.
Lightly stocked tanks with live plants: Planted tanks can go a bit longer between changes because plants absorb nitrates. But you still need to change the water regularly.
A simple test kit can tell you exactly where your water stands. Test for ammonia, nitrites, nitrates, and pH. If your nitrates go above 20–40 ppm, it is time for a water change — no matter what your schedule says.
What You Need Before You Start
You do not need a lot of fancy gear to change aquarium water. Here is what to grab:
A gravel vacuum (siphon): This is the most important tool. It sucks up water from the tank while also pulling debris and fish waste out of the gravel. You can find these at any pet store or online for just a few dollars.
A clean bucket: Use a bucket that has never had soap or cleaning products in it. Even a tiny bit of soap residue can kill your fish. Label it “aquarium only” so no one accidentally uses it for something else.
A water conditioner (dechlorinator): Tap water has chlorine and chloramine in it. These chemicals kill the beneficial bacteria in your tank and harm your fish. You need to treat new water with a conditioner before it goes in the tank. Brands like Seachem Prime or API Stress Coat work great.
A thermometer: The new water should match the temperature of your tank water. A sudden temperature shift shocks your fish and weakens their immune system.
Optional — a water testing kit: Test your water before and after the change to see how things improve.
That is really all you need. Simple stuff.
Step-by-Step: How to Change Aquarium Water
Now let us go through the whole process from start to finish.
Step 1: Do Not Feed Your Fish Beforehand
Skip feeding your fish for a day before the water change, or at least the morning of. Less food means less waste floating around in the tank during the process. This also makes it a little easier to see the water clearly.
Step 2: Unplug Heaters and Filters (if needed)
If your water level is going to drop significantly, unplug the heater first. Heaters can crack or overheat if they are exposed to air while still on. Some people also turn off their filter during the siphon process so they do not suck up too much air. If your filter intake sits well below the water surface, you can leave it on.
Step 3: Set Up Your Gravel Vacuum
Put your bucket on the floor near the tank. Stick the wide end of the siphon tube into the tank and the narrow end into the bucket. Start the siphon by either pumping the bulb (if your siphon has one) or giving the tube a quick suck to get the water flowing. Water will start running down into your bucket.
Step 4: Vacuum the Gravel
This is where the real cleaning happens. Push the wide end of the siphon down into the gravel. The suction will lift up fish waste, uneaten food, and debris that has sunk to the bottom. You will see a cloud of dirty water get sucked out.
Work in sections. Move slowly across the gravel, section by section. You do not have to vacuum every single inch of the tank each week — just hit about half of it each time so you are not disturbing too much beneficial bacteria at once.
Keep an eye on your bucket. Stop siphoning when you have removed about 20–25% of the tank’s total water volume. If your tank holds 40 gallons, you want to remove around 8–10 gallons.
Step 5: Check the Temperature of Your Replacement Water
Fill a separate bucket with fresh tap water. Check the temperature with a thermometer. It should be within one or two degrees of your tank water. If it is too cold, let it sit for a bit or add a little warm water to adjust it.
Step 6: Add Water Conditioner
Add the appropriate amount of water conditioner to your bucket of fresh water. Read the bottle — most conditioners require a few drops or a capful per gallon. Stir it in.
This step is non-negotiable. Never skip the conditioner. Chlorine and chloramine are toxic to fish and to the good bacteria that keep your tank cycled and healthy.
Step 7: Pour the New Water Back In
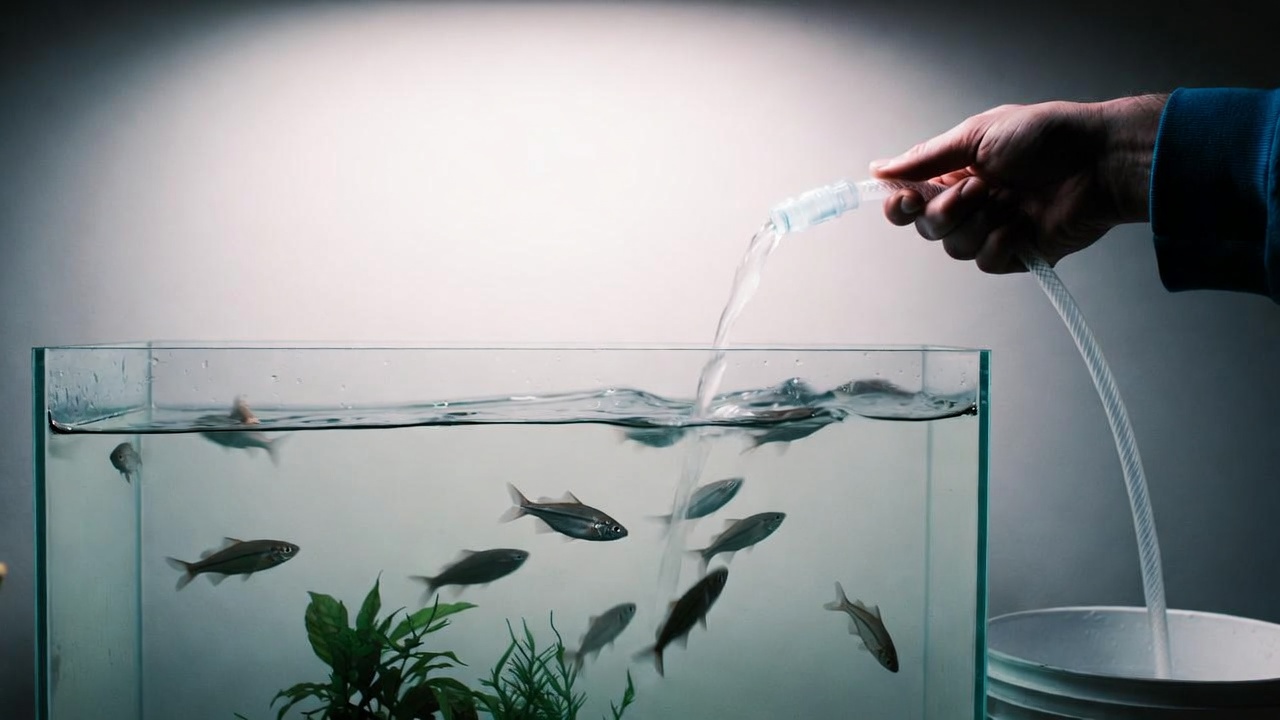
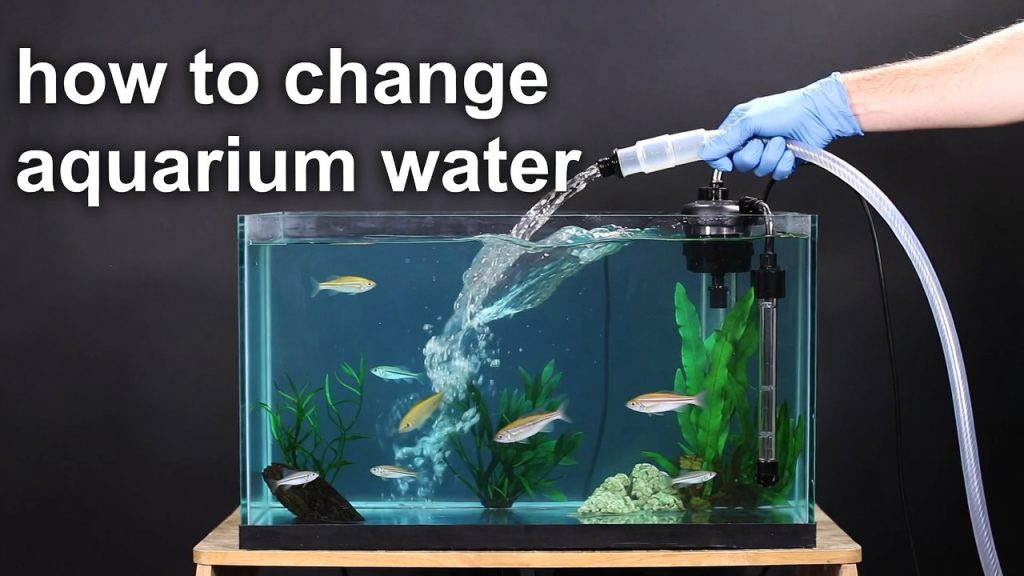
Pour the treated water slowly back into the tank. Do not dump it all at once in one spot — you do not want to stress your fish with a sudden rush of water. Pour it against the glass or over your hand to soften the flow.
Go slowly enough that you can see your fish reacting normally. If they start acting weird, stop and let the tank settle.
Step 8: Plug Everything Back In
Once the water is back to its normal level, plug in your heater and filter. Make sure the water covers the heater completely before turning it on. Check that your filter is running properly and that the intake is submerged.
Step 9: Observe Your Fish
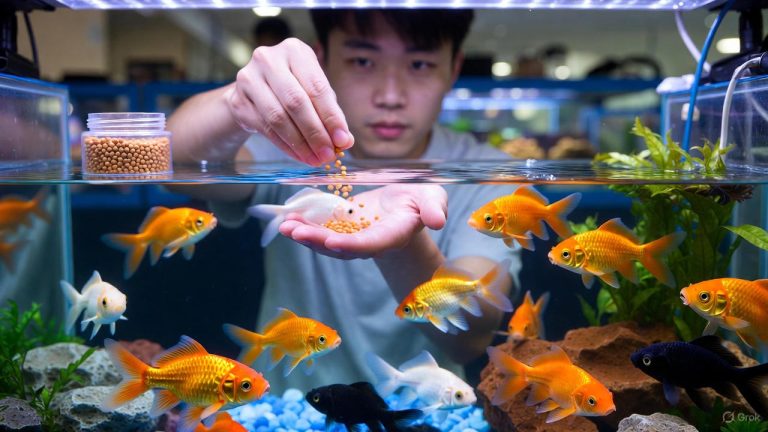
Spend a few minutes watching your fish after the water change. They should look calm and comfortable. Many fish actually become more active and colorful right after a fresh water change — that is a great sign that the new water is doing them good.
Common Mistakes to Avoid
Even experienced fish keepers mess this up sometimes. Here are the most common mistakes and how to avoid them.
Changing too much water at once. Removing more than 50% of the water in one go can crash your tank’s nitrogen cycle. Stick to 20–30% at a time.
Not treating the new water. This is the number one beginner mistake. Always use a dechlorinator. Always.
Using cold tap water directly. Cold water shocks fish. Always match the temperature before adding it to the tank.
Skipping gravel vacuuming. Changing water without vacuuming the gravel is only doing half the job. Most of the waste hides down in the substrate.
Using soapy buckets or tools. Even trace amounts of soap kill fish. Keep your aquarium tools soap-free and dedicated only to the tank.
Doing water changes too infrequently. Missing a week here and there is fine. But going months without a change lets nitrates build to dangerous levels. Be consistent.
Changing water during a cycling period. If your tank is brand new and still cycling, be careful about large water changes. They can slow the cycle by removing the ammonia that beneficial bacteria need to grow. Test your water to know where you stand.
What About Tap Water vs. Filtered or RO Water?
Most freshwater fish do just fine with tap water as long as it is treated with a dechlorinator. Tap water has the right mineral content for most community fish like tetras, guppies, goldfish, and cichlids.
Some fish — like discus or certain soft-water species — do better with filtered or reverse osmosis (RO) water. RO water is very pure but also lacks minerals, so you may need to add a remineralizer before using it.
If you are not sure what your fish need, look up their natural habitat. Fish from soft, acidic rivers need different water than fish from hard, alkaline lakes. Matching your water to your fish’s natural conditions reduces stress and promotes better health and breeding.
How to Read the Signs That Your Tank Needs a Water Change
Your fish and your tank will tell you when things are off. You just have to know what to look for.
Cloudy water: White or yellow cloudiness often means a bacterial bloom or high waste levels. A water change usually clears it up fast.
Foul smell: Healthy tanks should smell neutral or earthy. A sharp, strong, or sulfur-like smell means waste is building up.
Algae overgrowth: Too many nutrients in the water — often from nitrates — cause algae to explode. More frequent water changes help keep algae in check.
Fish gasping at the surface: This can signal low oxygen or high ammonia. A water change and better surface agitation can help right away.
Lethargic fish: Fish that sit at the bottom, barely move, or hide more than usual are often stressed by poor water quality.
Faded colors: Fish in dirty water often lose their vibrant colors. After a good water change, you will notice the difference almost immediately.
Tips for Making Water Changes Easier
Water changes do not have to be a chore. Here are a few tips that make the whole process faster and simpler.
Set a schedule and stick to it. Pick the same day each week — say, every Sunday — and make it a habit. Consistency is everything in fishkeeping.
Use a longer siphon hose. A hose that reaches from your tank to a nearby drain or sink makes the process much quicker. No hauling buckets around.
Pre-mix water in advance. Some fish keepers keep a bucket of pre-treated, temperature-matched water ready to go at all times. That way, the water change takes less than five minutes.
Get an auto water changer. Devices like the Python No Spill system connect directly to your faucet and let you drain and refill the tank without carrying a single bucket. A game-changer for large tanks.
Keep a water change log. Write down the date, how much water you changed, and your test results. This helps you spot trends and catch problems early.
Do Live Plants Change the Rules?
Planted tanks are a little different. Live plants absorb nitrates, ammonia, and CO2 from the water. A heavily planted tank with a low fish load can go longer between water changes because the plants are constantly cleaning the water.
But do not let that fool you into skipping changes altogether. Even planted tanks build up waste over time. Decaying plant matter, fish waste, and excess nutrients still accumulate.
In a planted tank, you can often get away with changing 10–15% of the water every week or 20–25% every two weeks. Use a water test kit to guide you.
Also, be careful when vacuuming in planted tanks. You do not want to disturb roots or suck up substrate. A light gravel vac around the edges and open areas is usually enough.
Saltwater Tanks: The Basics
Everything above applies mainly to freshwater tanks. Saltwater tanks have some extra steps.
When you change water in a marine aquarium, you need to use salt mix to create saltwater that matches your tank’s salinity. You cannot just use tap water — the salt content matters a lot.
You will need a refractometer or hydrometer to measure salinity. Most reef tanks aim for a specific gravity of 1.025–1.026. Mix your salt water in a bucket or reservoir ahead of time, check the salinity, adjust if needed, and then add it to the tank.
Marine tanks also tend to need smaller, more frequent water changes — around 10–15% per week — to keep the chemistry stable for corals and invertebrates.
The general idea is the same, though: remove dirty water, replace it with clean, treated water of the right temperature and chemistry.
How Long Does a Water Change Take?
For most tanks, a full water change with gravel vacuuming takes about 20–30 minutes. Smaller tanks take less time. Large tanks or heavily planted setups might take a little longer.
Once you get into the rhythm of it, the whole thing feels effortless. You will spend more time watching your fish enjoy their clean water than actually doing the work.
A Quick Recap
Here is the whole process in a nutshell:
- Skip feeding before the change.
- Unplug the heater and (if needed) the filter.
- Siphon out 20–30% of the tank water using a gravel vacuum.
- Vacuum the gravel as you go.
- Prepare fresh water at the right temperature.
- Add water conditioner to the new water.
- Pour the new water slowly back into the tank.
- Plug everything back in.
- Watch your fish and enjoy the clean tank.
That is it. No complicated science. No expensive gear. Just a simple routine that makes a massive difference in the health and happiness of your fish.
Final Thoughts
Changing your aquarium water is not glamorous. But it is one of the most loving things you can do for your fish. Clean water means less stress, fewer diseases, better colors, and longer lives.
The fish in your tank depend entirely on you. They cannot crack a window or go outside for fresh air. The water you give them is their whole world. Keep it clean, keep it fresh, and they will reward you with years of beautiful, healthy life.
Start with a small, consistent routine. Test your water. Pay attention to how your fish behave. And do not overthink it — a simple weekly water change is all most tanks really need.
You have got this.