
How to Disassemble Dog Crate?
Dog owners face the task of taking apart their pet’s crate for various reasons. You might need to move to a new home, clean the crate thoroughly, or store it when your furry friend outgrows it. The process seems daunting at first, but breaking down a dog crate becomes straightforward once you know the proper techniques.
This comprehensive guide walks you through every step of crate disassembly, from identifying your crate type to safely storing the components. You’ll learn professional tips that make the job easier and avoid common mistakes that could damage your equipment.
Types of Dog Crates and Their Disassembly Methods
Wire dog crates represent the most common type found in homes today. These collapsible metal structures feature removable panels connected by hinges and latches. The manufacturer designs them for easy assembly and takedown.
Plastic travel crates offer another popular option for pet owners. Airlines approve many of these models for air travel, and they typically split into two halves – a top and bottom section. Heavy-duty bolts or clips secure these pieces together.
Wooden dog crates provide an attractive furniture-like appearance but require different disassembly approaches. Most wooden crates use screws, dowels, or cam locks to hold the structure together. These crates often take more time to disassemble compared to their wire counterparts.
Soft-sided fabric crates collapse quickly since they rely on a flexible frame system. These lightweight options work well for temporary use and travel situations.
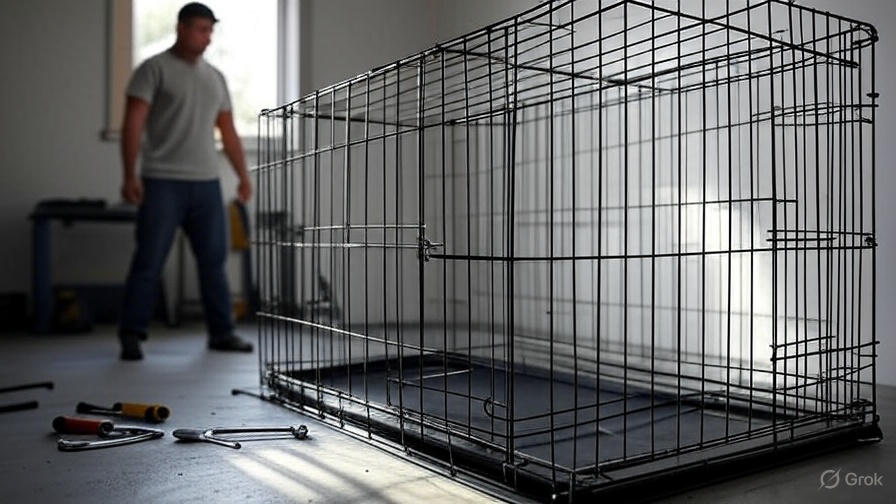
Essential Tools for Dog Crate Disassembly
Gathering the right tools before you start saves time and prevents frustration during the disassembly process. A basic toolkit covers most crate types effectively.
You’ll need a Phillips head screwdriver for most plastic and wooden crates. Many manufacturers use this common screw type throughout their designs. Keep both medium and small sizes handy since screw sizes vary.
A flathead screwdriver helps with prying apart stubborn connections and removing clips. This tool also works well for lifting tabs on plastic crates that resist finger pressure.
Needle-nose pliers grip small components and provide extra leverage when removing tight-fitting parts. They prove especially useful for wire crate pins and clips that hands can’t grasp easily.
Work gloves protect your hands from sharp edges and provide better grip on metal components. Wire crates often have pointed ends that can scratch or cut unprotected skin.
A rubber mallet gently persuades stuck parts without causing damage. Never use a regular hammer, which can dent or break crate components.
Safety Preparations Before Starting
Clear a spacious work area around the crate before beginning disassembly. You need room to lay out components as you remove them. A cluttered workspace increases the risk of losing small parts or tripping over obstacles.
Remove your dog from the area during disassembly. Even the friendliest pets can become anxious when their safe space gets dismantled. Place them in another room or outside area where they feel comfortable.
Check the crate for any stored items like toys, bedding, or food bowls. Remove everything before you start taking apart the structure. These items can fall out unexpectedly and create hazards.
Examine the crate for any damage that might affect disassembly. Bent panels, broken latches, or stripped screws require special attention. Note these issues so you can address them properly during the process.
Take photos of the assembled crate from multiple angles. These reference images help tremendously when you need to reassemble the crate later. Focus on connection points and latch mechanisms in your photos.
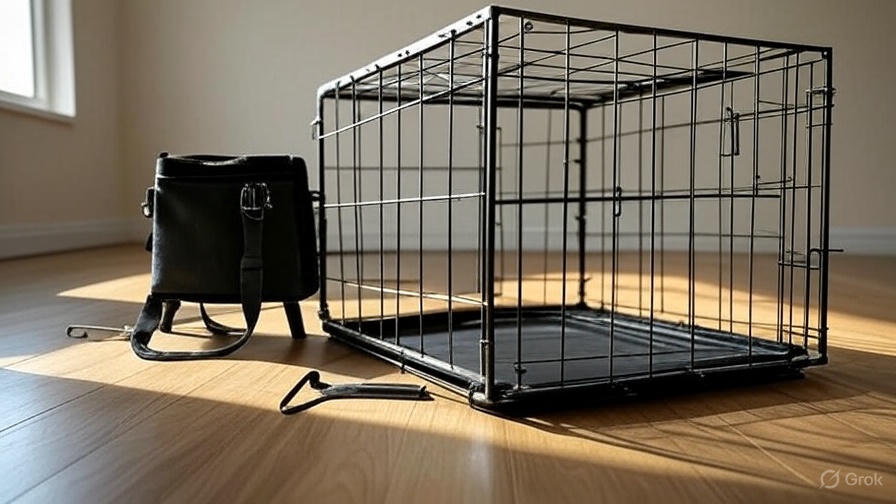
Step-by-Step Wire Crate Disassembly
Wire dog crates follow a logical disassembly sequence that prevents damage and makes reassembly easier. Start by locating all the latches that secure the panels together.
Begin with the door panel since it typically detaches first. Open the door fully and look for the hinge pins at the top and bottom. These pins slide out to release the door from the frame. Some models have spring-loaded pins that you press and pull simultaneously.
Lift the door straight up after removing the bottom pin. The top pin usually slides out easily once the door’s weight no longer holds it in place. Set the door aside in your designated component area.
Next, focus on the removable panels. Most wire crates have at least one panel that slides out from the frame. Look for tabs or clips along the edges that you can press to release the panel. These mechanisms vary by manufacturer but typically require simultaneous pressure on multiple points.
Remove the crate floor or tray by sliding it out through the front opening. Some models have a lip that requires lifting before the tray slides freely. Handle the tray carefully since it often has sharp edges.
Collapse the remaining frame by locating the main folding points. These usually sit at the corners where the panels meet. Press the appropriate tabs or levers while gently pushing the sides together. The frame should fold down into a compact rectangle.
Disassembling Plastic Travel Crates
Plastic dog crates require a different approach since they use mechanical fasteners rather than collapsible frames. These crates prioritize security and durability over quick setup and takedown.
Start by removing any accessories like food and water bowls, tie-down straps, or ventilation covers. These items often clip or screw into place and need individual attention.
Locate the joining hardware that connects the top and bottom halves. Most plastic crates use either wing nuts, clips, or twist-lock mechanisms. Wing nuts require counterclockwise rotation to loosen, while clips need squeezing or prying.
Work your way around the entire perimeter, loosening each fastener gradually. Don’t completely remove one fastener before loosening the others, as this can create stress points that might crack the plastic.
Once all fasteners are loose, carefully separate the two halves. The top portion may stick to the bottom due to tight tolerances. Gently rock the top half while lifting to break the seal.
Check the door mechanism before storing the pieces. Many plastic crate doors can be removed by lifting them off their track system. This reduces the storage footprint and prevents the door from swinging freely.
Breaking Down Wooden Dog Crates
Wooden crates present unique challenges since they use traditional joinery methods or modern fasteners. The disassembly approach depends on the construction style and manufacturer.
Examine the joints carefully to determine the fastener types. High-quality wooden crates often use cam locks or barrel bolts that require specific tools for removal. Budget models might rely on standard screws throughout the construction.
Remove the door first if it’s hinged with standard hardware. Unscrew the hinges from either the door or the frame, whichever provides easier access. Support the door’s weight while removing the final screws to prevent it from falling.
Take apart panel connections systematically. Start with non-structural elements like the roof or one side panel. This approach maintains the crate’s stability while you work on individual components.
Label each screw and its corresponding hole using masking tape and a marker. Wooden crates often use different screw lengths in various locations, and mixing them up complicates reassembly.
Work slowly with wooden components since they can split or crack under excessive force. If a joint resists separation, double-check that you’ve removed all fasteners in that area.
Handling Stubborn Components
Even well-maintained crates sometimes develop stuck or corroded components that resist normal disassembly methods. These situations require patience and the right techniques to avoid damage.
Spray penetrating oil on metal fasteners that won’t turn easily. Products like WD-40 or PB Blaster break down corrosion and lubricate threads. Allow the penetrant to work for several minutes before attempting removal again.
Use heat carefully on plastic components that seem fused together. A hair dryer provides gentle warming that can soften plastic enough to separate stuck parts. Never use open flames or excessive heat that could melt or warp the material.
Apply steady pressure rather than sudden force when parts resist separation. Gradual pressure allows components to shift naturally without breaking. Jerky motions often result in damaged parts or stripped fasteners.
Try different angles of approach when standard methods fail. Sometimes repositioning yourself or the crate provides the leverage needed to free stubborn components.
Organizing and Storing Disassembled Parts
Proper organization during disassembly saves significant time during reassembly and prevents lost components. Develop a system that works for your space and situation.
Use plastic bags or small containers to group related hardware together. Label each container with its contents and the crate section it belongs to. This prevents the frustrating search for specific screws or clips later.
Lay out large panels in order of removal. Stack them carefully to prevent scratching or damage. Place cardboard or blankets between metal panels to protect the finish.
Keep your reference photos easily accessible throughout the process. Digital photos on your phone work well since you can zoom in on specific connection details when needed.
Store all components in a clean, dry area if you’re not immediately reassembling the crate. Moisture can cause metal parts to rust and wooden components to warp or crack.
Common Mistakes to Avoid
First-time crate disassemblers often make preventable errors that complicate the process or damage components. Learning from others’ mistakes saves you time and frustration.
Forcing stuck components ranks as the most common error. Excessive force breaks latches, strips screws, and bends panels. Take time to understand why a part won’t move before applying more pressure.
Losing small hardware pieces creates major headaches during reassembly. Develop a organization system before you start removing fasteners, and stick to it throughout the process.
Skipping the documentation step leaves you guessing during reassembly. Take photos and make notes about unusual connections or orientation details that might not be obvious later.
Using inappropriate tools damages fasteners and components. A screwdriver that’s too large strips screw heads, while pliers that are too small can’t grip effectively. Match your tools to the specific fasteners you’re working with.
Maintenance Tips During Disassembly
Disassembly provides an excellent opportunity to perform maintenance tasks that keep your crate functioning properly. These simple steps extend the crate’s life and improve its performance.
Clean all components thoroughly as you remove them. Wire panels accumulate hair, dirt, and odors that regular cleaning might miss. Use appropriate cleaners for each material type – metal, plastic, or wood.
Inspect hardware for wear or damage. Replace bent pins, stripped screws, or cracked clips before reassembling the crate. These small investments prevent bigger problems later.
Lubricate moving parts like hinges and latches with appropriate products. Light machine oil works well for metal components, while silicone spray suits plastic parts better.
Check structural integrity by examining joints and connection points. Look for cracks, excessive wear, or loose connections that might compromise the crate’s strength.
Reassembly Preparation
Smart disassembly includes planning for eventual reassembly. Taking certain steps during takedown makes putting the crate back together much easier.
Create a simple diagram showing how major components connect. This doesn’t need to be artistic – a basic sketch with labels helps tremendously when you’re ready to rebuild.
Test-fit components before final assembly when the time comes. This preview helps identify any problems while you can still make adjustments easily.
Clean your work area before starting reassembly. A tidy space prevents confusion and reduces the chance of losing components during the rebuild process.
Review your photos and notes before beginning reassembly. Refresh your memory about unusual connections or specific orientation requirements.
Troubleshooting Specific Crate Models
Different manufacturers use unique design elements that affect disassembly procedures. Recognizing these variations helps you adapt the general techniques to your specific crate.
Midwest wire crates often feature proprietary clips that require pressing in specific sequences. Their instruction manuals typically include disassembly steps, though they focus primarily on assembly.
Petmate plastic crates use a distinctive wing-nut system that can be tricky for first-time users. The nuts must be turned several complete rotations before the threads disengage completely.
Precision Pet wooden crates employ cam locks that twist a quarter-turn to release. These mechanisms can be tight when new but typically loosen with use.
Generic imported crates may lack clear disassembly instructions. Apply the general principles outlined in this guide while paying extra attention to how components fit together.
When to Seek Professional Help
Most dog crate disassembly projects fall within the average pet owner’s capabilities. However, certain situations warrant professional assistance or manufacturer support.
Contact the manufacturer if you encounter unfamiliar fasteners or mechanisms that don’t respond to standard techniques. Their customer service departments often provide detailed disassembly instructions for specific models.
Consider professional help for expensive wooden crates that use complex joinery. Furniture repair specialists have the tools and experience to disassemble these pieces without damage.
Stop immediately if you notice structural damage during disassembly. Continuing to work on damaged components can worsen the problem and create safety hazards.
Final Thoughts on Crate Disassembly
Successfully disassembling a dog crate requires the right combination of tools, techniques, and patience. The process becomes routine once you understand your specific crate type and develop efficient methods.
Remember that taking your time prevents costly mistakes and ensures all components remain in good condition for future use. The hour you spend on careful disassembly saves frustration and expense down the road.
Keep this guide handy for future reference, and don’t hesitate to consult manufacturer resources when you encounter unfamiliar designs. With practice, you’ll develop the confidence to tackle any crate disassembly project efficiently and safely.
Your dog’s crate represents a significant investment in their comfort and safety. Proper disassembly and storage techniques protect that investment while giving you the flexibility to adapt to changing circumstances. Take pride in mastering this essential pet ownership skill.