How to Clean Your Cat’s Ears?
Every cat owner knows the struggle of keeping their feline friend healthy and happy. While most cats are excellent self-groomers, their ears often need special attention that they can’t manage on their own. Learning how to clean your cat’s ears properly will help prevent infections, reduce odors, and keep your pet comfortable.
Why Regular Ear Cleaning Matters for Your Cat
Cats naturally produce earwax and oils that protect their ear canals from dirt and debris. However, these substances can build up over time, creating the perfect environment for bacteria and yeast to thrive. Indoor cats particularly benefit from regular ear cleaning since they don’t have the same opportunities as outdoor cats to naturally clear their ears through environmental exposure.
Signs that your cat needs ear cleaning include dark, waxy buildup, strong odors coming from the ears, excessive scratching at the ears, or head shaking. Some cats produce more earwax than others, making regular cleaning even more important for their health.
Certain cat breeds face higher risks of ear problems. Long-haired cats like Persians and Maine Coons often have more hair around their ears, which can trap moisture and debris. Breeds with folded ears, such as Scottish Folds, also require extra attention since their ear structure makes it harder for air to circulate naturally.
Essential Supplies for Safe Cat Ear Cleaning
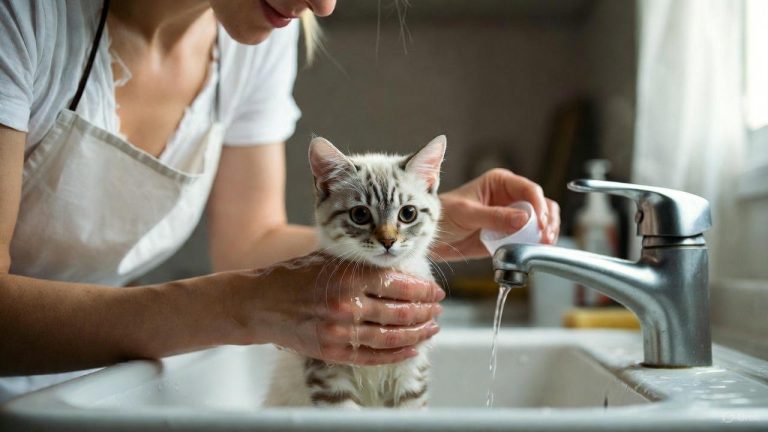
Before you begin cleaning your cat’s ears, gather all necessary supplies. You’ll need a veterinarian-approved ear cleaning solution specifically designed for cats. Never use human ear cleaners, alcohol, or hydrogen peroxide, as these can irritate your cat’s sensitive ear tissue.
Cotton balls or gauze pads work best for wiping away debris. Avoid cotton swabs, which can push wax deeper into the ear canal or potentially damage your cat’s eardrum. A clean towel will help secure your cat during the process, while treats serve as positive reinforcement.
Good lighting is crucial for safely cleaning your cat’s ears. Natural daylight or a bright lamp will help you see inside the ear canal clearly. Some pet owners find that a flashlight or phone light provides the precise illumination needed for thorough cleaning.
Preparing Your Cat for Ear Cleaning
Start by creating a calm environment for your cat. Pick a quiet room where your cat feels comfortable, away from other pets or distractions. Many cats respond well to ear cleaning when they’re slightly sleepy or relaxed after a meal.
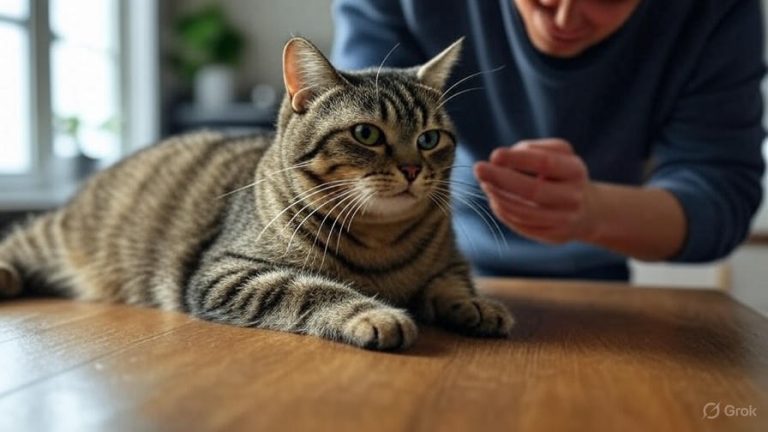
Gently handle your cat’s ears for several days before the actual cleaning. This helps them get used to having their ears touched and reduces anxiety during the cleaning process. Reward your cat with treats and praise during these practice sessions to create positive associations.
If your cat is particularly anxious or aggressive, consider wrapping them gently in a towel, leaving only their head exposed. This “burrito” method helps keep both you and your cat safe while allowing you to access their ears easily.
Step-by-Step Ear Cleaning Process
Begin by examining your cat’s ears in good light. Healthy ears should be pink inside with minimal wax buildup. If you notice excessive discharge, redness, swelling, or a foul smell, contact your veterinarian before proceeding with cleaning.
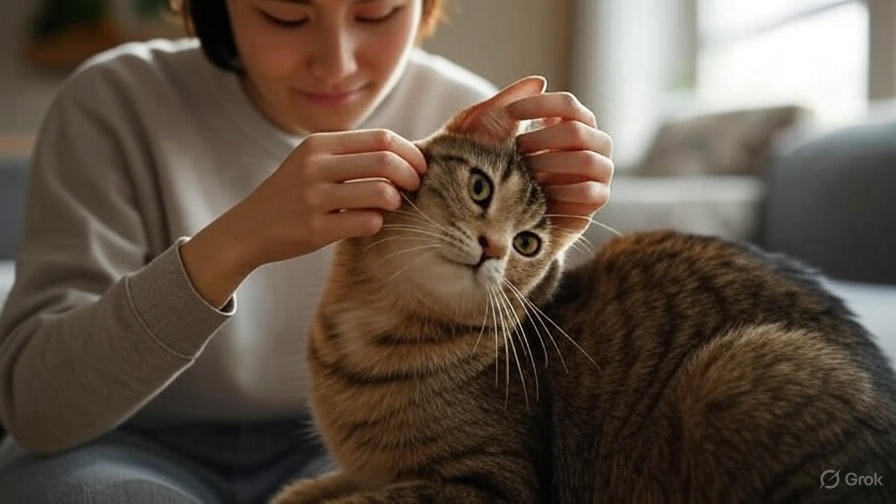
Hold your cat securely but gently. Lift the ear flap and look inside the ear canal. You should be able to see the ear opening clearly. If there’s excessive hair around the ear, you might need to trim it carefully with blunt-tip scissors.
Apply the ear cleaning solution according to the product instructions. Most solutions require you to squeeze a small amount directly into the ear canal. Don’t let the bottle tip touch your cat’s ear, as this can spread bacteria.
Gently massage the base of your cat’s ear for 20-30 seconds. You should hear a squishing sound as the solution works to break up wax and debris. This massage action helps the cleaning solution reach deep into the ear canal where buildup typically occurs.
Allow your cat to shake their head. This natural response helps bring loosened wax and debris to the surface where you can easily wipe it away. Have your towel ready, as cats often shake vigorously during this step.
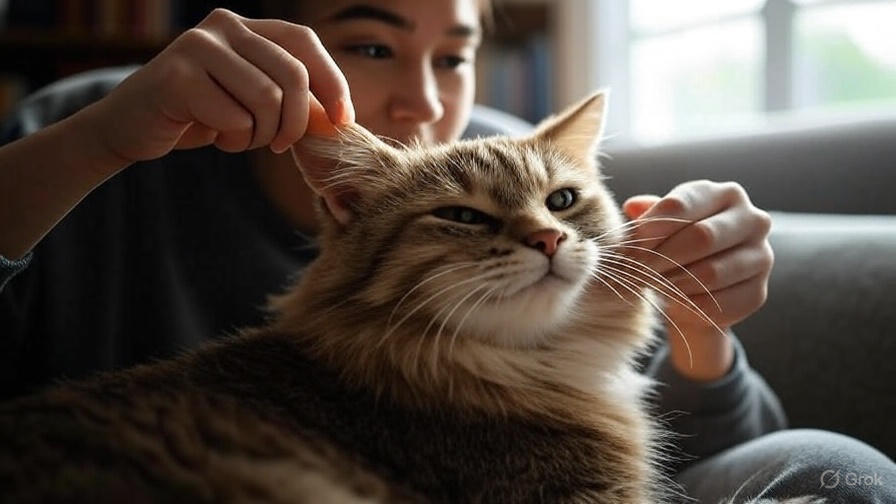
Use cotton balls or gauze to wipe away the loosened debris from the outer ear and the parts of the ear canal you can see. Work from the inside of the ear outward, using a fresh cotton ball for each wipe. Never push cotton balls deep into the ear canal.
Repeat the process on the other ear, using fresh supplies to prevent cross-contamination. Always clean both ears during the same session, even if only one appears dirty.
Recognizing Normal vs. Concerning Ear Conditions
Normal cat ears have a light pink color inside with minimal, light-colored wax. The skin should look healthy without scratches, redness, or swelling. A slight earwax smell is normal, but it shouldn’t be overwhelming or unpleasant.
Watch for signs that indicate professional veterinary care is needed. Dark, coffee-ground-like discharge often signals ear mites, while yellow or green discharge may indicate a bacterial infection. Red, inflamed skin or scratches around the ears suggest your cat has been scratching excessively due to discomfort.
If your cat shows signs of pain during ear cleaning, such as crying, hissing, or trying to escape, stop immediately and consult your veterinarian. Pain during cleaning often indicates an underlying ear problem that requires medical treatment.
Common Mistakes to Avoid During Ear Cleaning
Never use cotton swabs or other pointed objects to clean inside your cat’s ears. These tools can push debris deeper into the ear canal or cause serious injury to the eardrum. Stick to cotton balls and gauze pads for safe cleaning.
Avoid using excessive force or restraint during the cleaning process. Stressed cats are more likely to scratch or bite, and forcing the cleaning can create negative associations that make future cleanings more difficult.
Don’t clean your cat’s ears too frequently. Most cats need ear cleaning only every few weeks, unless recommended otherwise by your veterinarian. Over-cleaning can irritate the ear canal and disrupt the natural balance of oils and bacteria.
Never use household products like soap, alcohol, or vinegar to clean your cat’s ears. These substances can cause chemical burns or severe irritation to your cat’s sensitive ear tissue.
When to Seek Professional Veterinary Care
Contact your veterinarian if you notice persistent ear odor, discharge, or if your cat shows signs of hearing loss. Head tilting, loss of balance, or walking in circles can indicate serious ear problems that require immediate medical attention.
If your cat has chronic ear problems, your veterinarian might recommend prescription ear cleaners or medications. Some cats have allergies or underlying health conditions that make them more prone to ear infections.
Schedule regular checkups with your veterinarian to monitor your cat’s ear health. Professional cleanings might be necessary for cats with chronic ear issues or those who won’t tolerate home cleaning.
Maintaining Long-term Ear Health
Regular grooming helps prevent ear problems before they start. Brush your cat’s fur regularly, paying special attention to the area around their ears. This prevents matting and reduces the amount of hair that can trap moisture and debris.
Monitor your cat’s environment for potential ear irritants. Dusty conditions, strong fragrances, or exposure to smoke can contribute to ear problems in sensitive cats. Keep your cat’s living space clean and well-ventilated.
Feed your cat a high-quality diet that supports overall health, including ear health. Some cats with food allergies experience ear problems as a symptom, so working with your veterinarian to identify and eliminate problem ingredients can help.
Special Considerations for Different Cat Types
Senior cats often need more frequent ear cleaning due to reduced mobility and grooming ability. They may also be more prone to ear infections due to weakened immune systems. Be extra gentle with older cats and watch for signs of arthritis that might make positioning difficult.
Kittens typically don’t need extensive ear cleaning, but getting them used to the process early helps establish good habits. Use very gentle techniques and positive reinforcement to make ear cleaning a pleasant experience.
Cats with chronic health conditions like diabetes or autoimmune disorders may be more susceptible to ear infections. Work closely with your veterinarian to develop an appropriate ear care routine for cats with special health needs.
Creating a Positive Ear Cleaning Experience
Make ear cleaning a bonding experience with your cat by staying calm and patient throughout the process. Speak softly and offer treats and praise to help your cat associate ear cleaning with positive experiences.
Start with short sessions and gradually increase the duration as your cat becomes more comfortable. Some cats need several sessions to become fully accustomed to the process, and that’s perfectly normal.
Keep a consistent routine for ear cleaning. Cats thrive on predictability, so cleaning their ears at the same time of day or week helps reduce anxiety and makes the process smoother for both of you.
Conclusion
Cleaning your cat’s ears is an important part of responsible pet ownership that helps prevent infections and keeps your feline friend comfortable. With the right supplies, proper technique, and patience, you can safely clean your cat’s ears at home. Remember to watch for signs of problems that require veterinary attention, and don’t hesitate to contact your veterinarian if you have concerns about your cat’s ear health.
Regular ear cleaning, combined with routine veterinary checkups, will help ensure your cat enjoys healthy ears throughout their life. The time and effort you invest in learning proper ear cleaning techniques will pay off in better health and comfort for your beloved pet.