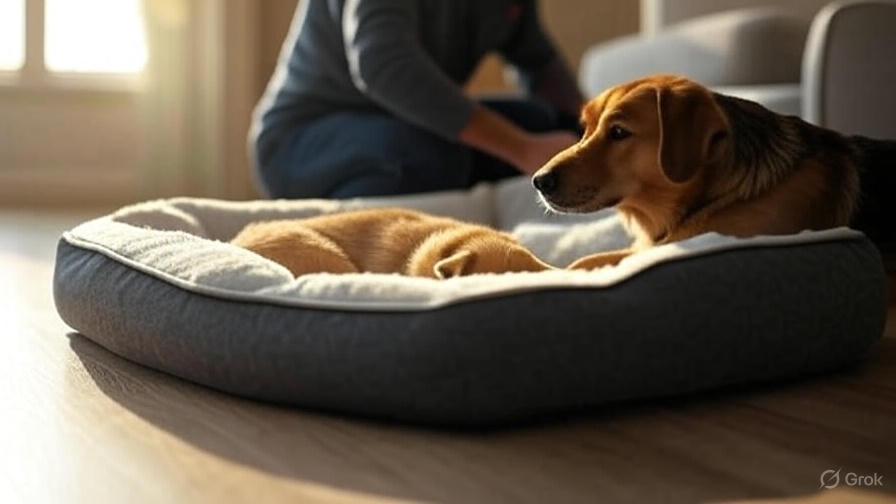
How to Clean a Dog Bed Without a Removable Cover?
Your furry friend’s bed accumulates dirt, hair, odors, and bacteria over time, but cleaning becomes challenging when the cover won’t zip off. Many pet owners face this dilemma with foam beds, orthopedic mattresses, and budget-friendly dog beds that lack removable covers. This comprehensive guide shows you proven methods to deep clean your dog’s bed while keeping it fresh, hygienic, and comfortable.
Why Regular Cleaning Matters for Your Dog’s Health
Dogs spend 12-14 hours sleeping daily, making their beds a breeding ground for allergens, dust mites, and harmful bacteria. Dirty bedding can trigger skin irritation, respiratory problems, and unpleasant odors throughout your home. Regular maintenance prevents these issues and extends your pet’s bed lifespan significantly.
Neglected dog beds harbor fleas, ticks, and other parasites that pose health risks to both pets and family members. The accumulated oils from your dog’s skin create stubborn stains and persistent smells that become harder to eliminate over time. Consistent cleaning routines keep your dog healthy and your living space pleasant.
Essential Supplies for Deep Cleaning Non-Removable Covers
Before starting the cleaning process, gather these necessary items to ensure thorough results:
Cleaning Solutions:
- Enzyme-based pet odor eliminator
- Mild liquid detergent or pet-safe soap
- White vinegar for natural deodorizing
- Baking soda for odor absorption
- Hydrogen peroxide for stain removal
Equipment and Tools:
- Vacuum cleaner with upholstery attachment
- Soft-bristled scrub brush
- Microfiber cloths or clean towels
- Spray bottles for applying solutions
- Hair dryer or fan for faster drying
Safety Items:
- Rubber gloves to protect your hands
- Well-ventilated area for cleaning
- Waterproof sheet to protect floors
These supplies work together to tackle different types of stains, odors, and debris commonly found on dog beds. Having everything ready streamlines the cleaning process and delivers better results.
Step 1: Remove Loose Debris and Pet Hair
Start by shaking the bed vigorously outdoors to dislodge loose dirt, crumbs, and surface debris. This initial step prevents grinding particles deeper into the fabric during wet cleaning. Take the bed outside if possible, as this prevents mess from spreading throughout your home.
Use your vacuum cleaner with the upholstery attachment to remove embedded pet hair and fine particles. Work systematically across the entire surface, paying special attention to seams, corners, and crevices where debris accumulates. The suction power pulls out hair that manual removal might miss.
For stubborn pet hair, try these effective techniques:
- Run a damp rubber glove across the fabric – static electricity attracts loose fur
- Use a lint roller on smaller areas for precise hair removal
- Employ a pumice stone gently across fabric surfaces to gather clumped hair
This thorough debris removal creates a clean foundation for the deep cleaning steps that follow.
Step 2: Treat Stains and Spot Clean Problem Areas
Identify visible stains, urine spots, or heavily soiled areas that need targeted treatment. Different stains require specific approaches for complete removal. Act quickly on fresh stains, but don’t worry – older stains can still be effectively treated with the right methods.
For Urine Stains: Blot fresh urine immediately with clean towels to absorb as much liquid as possible. Avoid rubbing, which spreads the stain and pushes it deeper into the padding. Mix equal parts white vinegar and water in a spray bottle, then saturate the affected area. Let the solution sit for 15 minutes before blotting with clean cloths.
For Blood Stains: Create a paste using cold water and hydrogen peroxide. Apply this mixture to blood stains and let it bubble for several minutes. The chemical reaction breaks down blood proteins effectively. Rinse thoroughly with cold water and blot dry completely.
For Grease or Food Stains: Sprinkle baking soda liberally over greasy areas and let it absorb oils for 30 minutes. Vacuum the powder, then apply a small amount of dish soap mixed with warm water. Work the solution gently with a soft brush, then rinse and blot dry.
For Vomit or Feces: Remove solid waste carefully with disposable materials. Clean the area with an enzyme cleaner specifically designed for organic waste. These products break down proteins and eliminate odor-causing bacteria completely.
Step 3: Apply Deep Cleaning Solution
After spot treatment, prepare a general cleaning solution for the entire bed surface. Mix one part mild liquid detergent with four parts warm water in a spray bottle. This ratio provides effective cleaning power without oversaturating the padding inside.
Spray the solution evenly across the bed’s surface, working in small sections to maintain control. The goal is dampening the fabric without soaking through to the inner filling. Oversaturation leads to longer drying times and potential mold growth inside the padding.
Use a soft-bristled brush to work the cleaning solution into the fabric gently. Circular motions help lift embedded dirt and oils without damaging the material. Focus extra attention on areas where your dog’s head and body rest most frequently, as these spots accumulate the most oils and odors.
Allow the cleaning solution to penetrate for 10-15 minutes before proceeding to the rinsing stage. This contact time helps break down stubborn stains and neutralize odor-causing bacteria effectively.
Step 4: Rinse and Remove Cleaning Residue
Proper rinsing prevents soap buildup that attracts dirt and creates sticky residues. Use clean water in a spray bottle to rinse each section thoroughly. Work systematically to ensure complete coverage without missing any areas.
Blot each rinsed section immediately with clean, absorbent towels. Press firmly to extract as much moisture as possible from the fabric and underlying padding. Replace towels frequently as they become saturated to maintain absorption efficiency.
For beds with waterproof backing, tilt them at various angles to help water drain away from the padding. This prevents moisture from pooling inside and reduces drying time significantly.
Continue the rinse-and-blot process until the water runs clear and no soap residue remains. Test by pressing a clean white cloth against the fabric – it should come away without any colored residue or soap film.
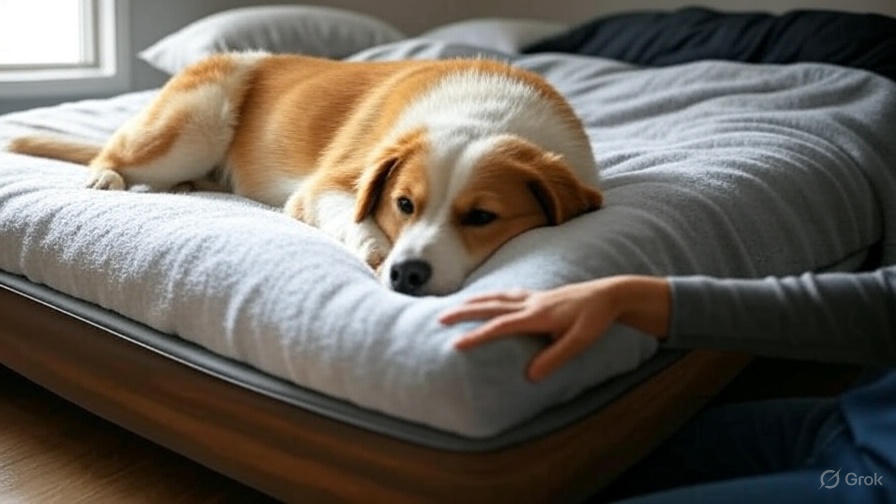
Step 5: Deodorize and Eliminate Persistent Odors
Even after thorough cleaning, some odors may linger in deep padding layers. Enzyme cleaners work best for biological odors like urine, feces, and vomit because they break down odor molecules at the source rather than just masking smells.
Spray enzyme cleaner evenly across the entire bed surface, following manufacturer instructions for contact time. These products need time to work effectively – rushing this step reduces their odor-eliminating power significantly.
For general freshening, create a natural deodorizing spray using equal parts water and white vinegar with a few drops of pet-safe essential oil. Lavender and eucalyptus oils provide pleasant scents while offering natural antibacterial properties.
Baking soda serves as an excellent odor absorber for persistent smells. Sprinkle a thin layer across the damp bed surface and let it sit for several hours or overnight. The powder absorbs moisture and neutralizes odors naturally. Vacuum thoroughly before the final drying stage.
Step 6: Proper Drying Techniques
Correct drying prevents mold, mildew, and bacterial growth while restoring the bed’s comfort and structure. Never put a non-removable cover bed in the dryer, as high heat can damage padding and shrink fabric covers.
Position the bed in a well-ventilated area away from direct sunlight, which can fade colors and weaken fabric fibers. Good airflow accelerates drying and prevents musty odors from developing in damp padding.
Use fans to increase air circulation around the bed. Position one fan blowing across the surface and another underneath if possible. This cross-ventilation speeds drying and ensures even moisture removal throughout the padding.
A hair dryer on cool setting can target specific damp spots, but avoid using heat settings that might damage synthetic materials. Keep the dryer moving to prevent overheating any single area.
Flip the bed periodically during drying to ensure both sides receive adequate air exposure. This prevents moisture from settling in one area and promotes uniform drying throughout the padding layers.
Complete drying typically takes 24-48 hours depending on bed thickness, humidity levels, and ventilation. Test dryness by pressing into the center of the bed – it should spring back without feeling damp or cool to the touch.
Alternative Cleaning Methods for Different Bed Types
Memory Foam Beds: These beds require gentle handling to prevent padding damage. Use minimal water and focus on surface cleaning with foam cleaners designed for upholstery. Never saturate memory foam, as it absorbs water readily and takes extremely long to dry completely.
Orthopedic Beds: Similar to memory foam, orthopedic beds need careful moisture control. Spot cleaning works better than full submersion methods. Use enzyme cleaners sparingly and ensure thorough drying to maintain the bed’s supportive properties.
Bolster or Raised-Edge Beds: Pay extra attention to the raised edges where dogs rest their heads. These areas collect oils and require more intensive cleaning. Use cotton swabs to clean detailed areas and crevices that brushes can’t reach effectively.
Waterproof Beds: The waterproof layer prevents deep penetration but can trap moisture between layers. Focus on surface cleaning and ensure complete drying to prevent bacterial growth between the waterproof barrier and fabric cover.
Maintenance Tips to Reduce Deep Cleaning Frequency
Weekly Maintenance: Vacuum the bed surface weekly to remove loose hair, dirt, and debris before they embed deeply into the fabric. This simple step significantly extends the time between deep cleaning sessions.
Immediate Spot Treatment: Address accidents and spills immediately to prevent permanent staining and odor absorption. Keep cleaning supplies easily accessible for quick response to fresh messes.
Protective Measures: Use washable blankets or towels on top of the bed as protective layers. These can be laundered regularly while keeping the bed itself cleaner for longer periods.
Air Freshening: Sprinkle baking soda lightly on the bed weekly, let it sit for an hour, then vacuum. This simple routine keeps odors under control between major cleaning sessions.
Rotation Strategy: If possible, rotate between two beds to allow thorough cleaning and drying of one while your dog uses the other. This ensures your pet always has a clean, dry sleeping surface.
When to Replace Rather Than Clean
Sometimes replacement becomes more practical than continued cleaning attempts. Consider buying a new bed when:
The padding has lost its shape and support despite cleaning efforts. Compressed or lumpy padding won’t provide adequate comfort for your dog and may cause joint problems over time.
Persistent odors remain even after multiple deep cleaning sessions with enzyme treatments. Some odors penetrate so deeply that complete removal becomes impossible without professional equipment.
Visible mold or mildew appears on the fabric or padding. These health hazards require immediate disposal, as they pose respiratory risks to both pets and humans.
The fabric shows significant wear, tears, or permanent staining that affects the bed’s appearance and hygiene. Damaged fabric is harder to clean effectively and may harbor bacteria in worn areas.
Your dog’s size or needs have changed, requiring different support levels or dimensions. Senior dogs especially benefit from orthopedic features that older beds may lack.
Conclusion
Cleaning a dog bed without a removable cover requires patience and the right techniques, but the results justify the effort. Regular maintenance keeps your pet healthy, your home fresh, and extends the bed’s useful life significantly.
The key lies in using appropriate cleaning solutions, allowing adequate drying time, and maintaining consistent care routines. With these proven methods, you can keep any non-removable dog bed clean, hygienic, and comfortable for your beloved companion.
Start implementing these techniques today to create a healthier sleeping environment for your dog. Your pet will appreciate the fresh, clean bedding, and you’ll enjoy a more pleasant living space free from pet odors and allergens. Remember that consistency in cleaning routines prevents major problems and makes each cleaning session easier and more effective.

